Monday, January 23, 2023
A little time sewing
Tuesday, August 9, 2022
Quilt basting/ pinning
It took me all week to baste/ pin four quilts I must be getting old or maybe lazy or easily distracted. The first quilt went on the frame without a hitch I just had to be very conservative with the backing and batting because if I was careful I could get two quilts across, it worked numerical. The second quilt was tight, I had to stretch the batting about an inch and a half. Then I pinned it and it was time to make supper. The next day I unpinned it because it wasn’t square to the world. Line things up better and do it right. So much better, I was on a roll sew the backing for the third. No problems. Fourth quilt should I add a border??? Audition some fabrics, consider the possibilities and more important the yardage, time to make supper again. Day three bible study, lunch with a girlfriend, dentist appointment just a cleaning and the day was shot it was also very nice outside so I sat on the deck can’t forget to enjoy the moment. Miserably hot and humid again good day to sew add the borders, could have fussy cut this subtle stripe but I think I will use it for binding. Sew the backing and get it pinned to the frame, spread out the batting ugh it needs to be pieced.......that really didn’t take that long to zig zag a chunk. Spread it out again then the quilt top......you guessed it time to make supper.......next day finally pinned and off the frame and frame and chairs all put away. I’m ready for some power sewing. ~~Ann~~
Thursday, June 20, 2019
Red black and plaid
Thursday, April 20, 2017
Monday, July 11, 2016
Borders and ta da done
I went with the traditional baptist fan for the border, my handi gadgets quilting templets were not big enough to fill the border so I stepped up close to a quilt that I had hand quilted a baptist fan in the border decades ago and counted 8 lines I could only do 6 with the templets. Sometimes we need to remember the simple technology, my hand made and very accurate circle drawing compass. Believe me this works much better than the kind we used in school. Fold a piece of card stock in half lengthwise for strength then mark one inch increments with a pin then use a big fat old darning needle to make bigger holes for your blue water soluble pen. Stick a pin in the small hole on the end and hold it on the quilt, with the other hand stick the pen in the bigger hole and swing an arc and do it again and again until the border is marked then sew on the lines. When you are all done sewing wash in cold tap water NO soap. Heat will set the blue marks forever. If you just spritz or sponge the blue goes into the batting and will come back to haunt you forever because detergent will turn it brown and it will resurface on the quilt in a warm bath. I would not leave a marked quilt near a heat source or in a hot car because those marks will be there forever.
And the finished quilt.............
I'm calling this Spinning Pinwheels. I am so please with quilting on this. I went slow but I enjoyed every stitch and curve. And isn't that what it all about enjoying the process. --Ann--
Wednesday, March 2, 2016
The Red Eye Blocks
The bright colors of the bias squares next to the black of the red eyes has a very folk art look. What is folk art? Just art by folk. Anyway I wanted to make this a nice throw size and I wanted it symmetrical so to make it wide enough I would have had six blocks across and eight blocks down so it would have had a bias square on one edge and a red eye on the other edge. Sometimes I really like things to be symmetrical so I did half blocks for the borders. If I had really been symmetrical the side blocks would have matched across the quilt but I wanted to use the strips I had cut and not cut more. Now to sew the blocks together. --Ann--
Monday, September 14, 2015
Design Wall Monday
Rather than measure the quilt and border parts because the math just wasn't working for the mathematically challenged. I folded my quilt in half and pinched the edges together and matched seams and low and behold the parallel sides were exactly the same. I sewed five bulls eye blocks together for the long side then laid it on top of the quilt pinching the edges together as I smoothed the fabric. The bulls eye blocks were 2 inches longer than the quilt top. I would need a narrow border, half of 2 is 1 plus 1/2 inch for seams. Cut a 1 1/2 inch strip to go around the quilt. Measure, pin, pin, pin and sew. Perfect!!!
Everything fit just right using only a tape measure and math I could do in my head.
Lovin' low tech days.
Now it is basted along with another quilt so I am off to my sweet 16 machine for some power sewing. Linking to Judy's Design Wall Monday. --Ann--
Thursday, September 3, 2015
Another border
Wednesday, February 19, 2014
out of the cupboard
Changing the quilts on the walls always improves the spirits in the winter. Out with the snowmen and up with the spring baskets. These blue and yellow baskets are like a sunny day. I made this quilt in 1999 with 6 inch squares of Merryvale fabrics click explanation of Merryvale. Each basket used one 6 inch square of fabric, I cut 2- 2 inch squares and 6 triangles using the easy angle. From the background fabric I cut 3 - 2 inch squares and 2 - 2 x 3 1/2 rectangles and 2 - 2 inch wide triangles using the companion angle and one 3 1/2 inch triangle. The piano key border is cut from 6 x 18 inch strips of Merryvale fabrics. I free motion quilted it on my Bernina. --Ann--
Wednesday, August 28, 2013
Out of the cupboard
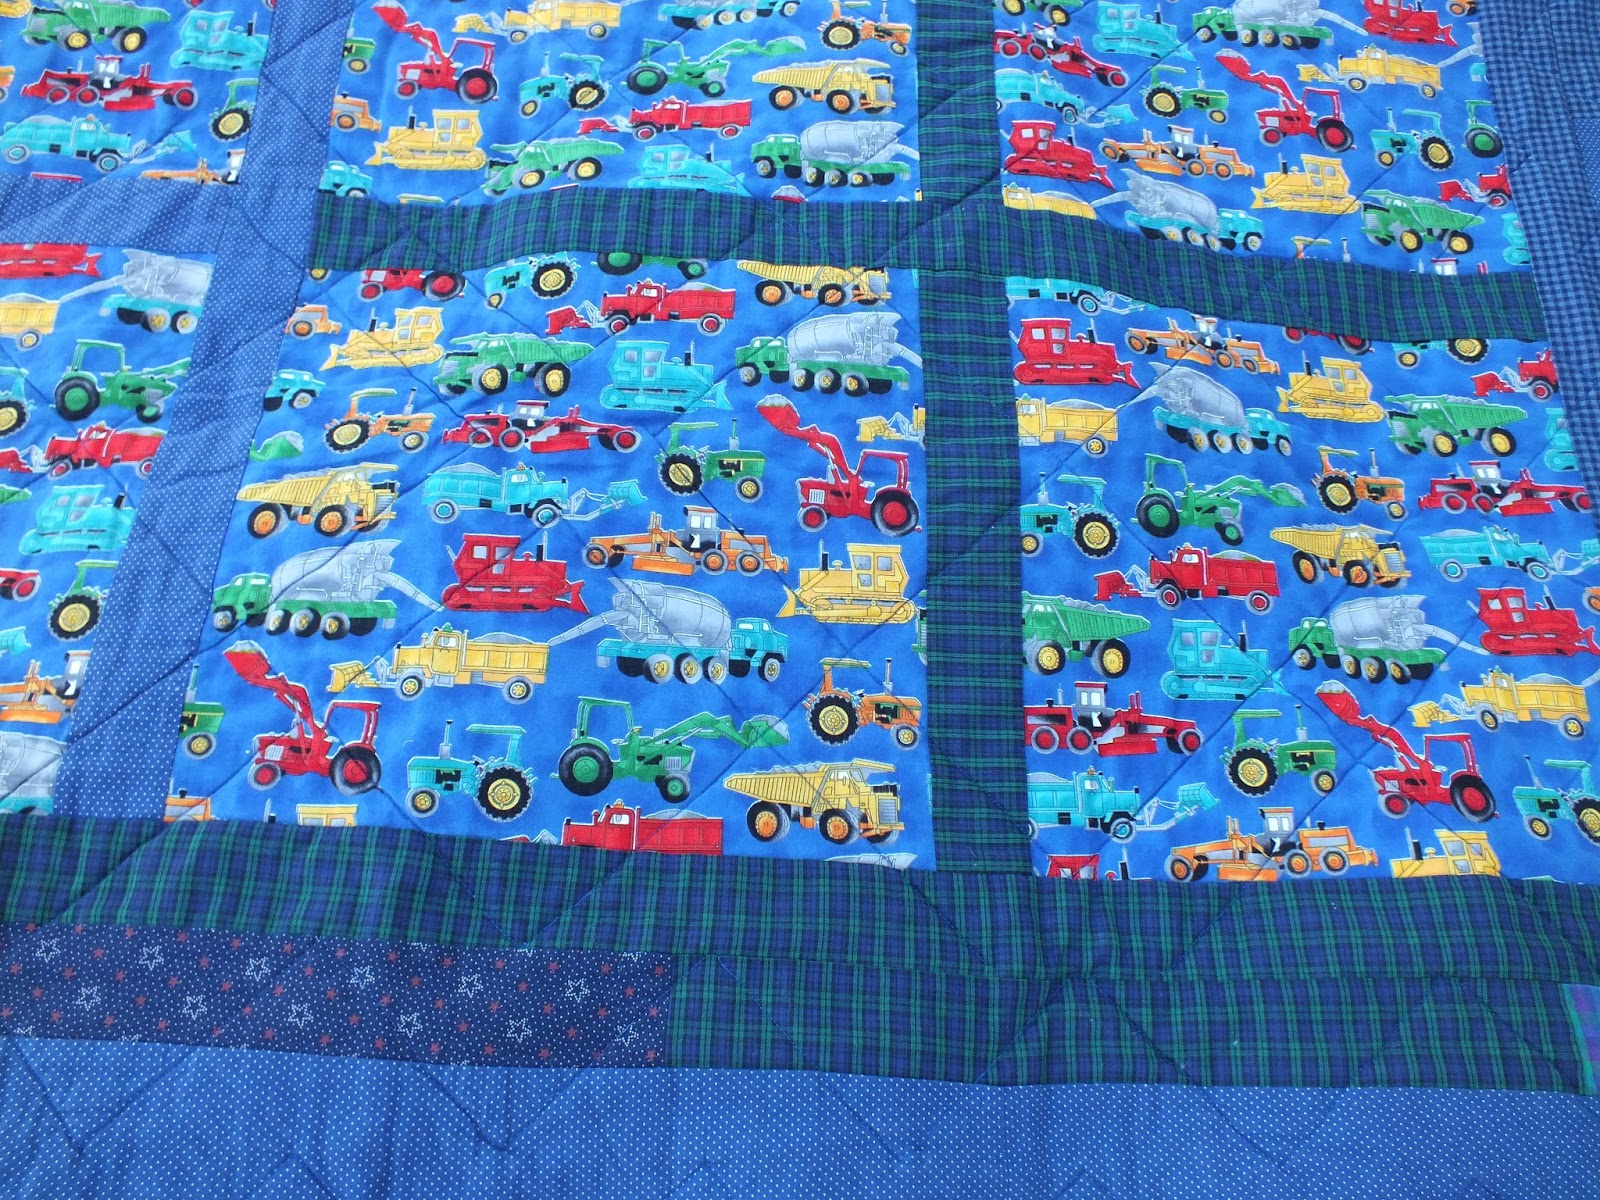
Another quilt out of the cupboard. I named this quilt Steps to the Campanile, I made it for my oldest son, he was the first of the third generation to attend SDSU (that would be South Dakota) and graduate. He was 12 or 13 when I made it. He chose the colors blue and yellow (go Jackrabbits) I added some red, green and purple for interest. The block is Jacob's ladder which is half square triangles and 4 patches in this configuration it is sometimes called wagon wheel. More HST make up the border. I quilted it by FMQ in reasonable straight lines through the 4 patches and stitching in the ditch in the border. I extended the truck fabric on the back by adding roads and my boys did play with their little cars and trucks and legos a lot on the back of the quilt. Missing my little boys.....they grew up into wonderful young men. --Ann--
P.S. I should have darling daughter check me on the facts before I hit the publish button. Oldest son was the second to graduate from SDSU, he was in the Navy 5 years, 2nd son was the first. The first is second the second is first are you as confused as I am now?
Monday, August 12, 2013
Design Wall Three Queens and a Glorified Nine Patch
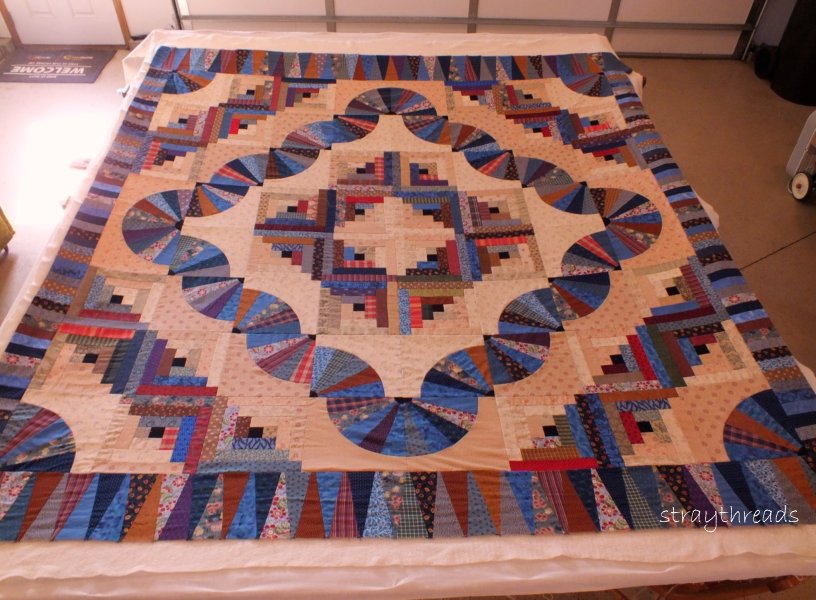
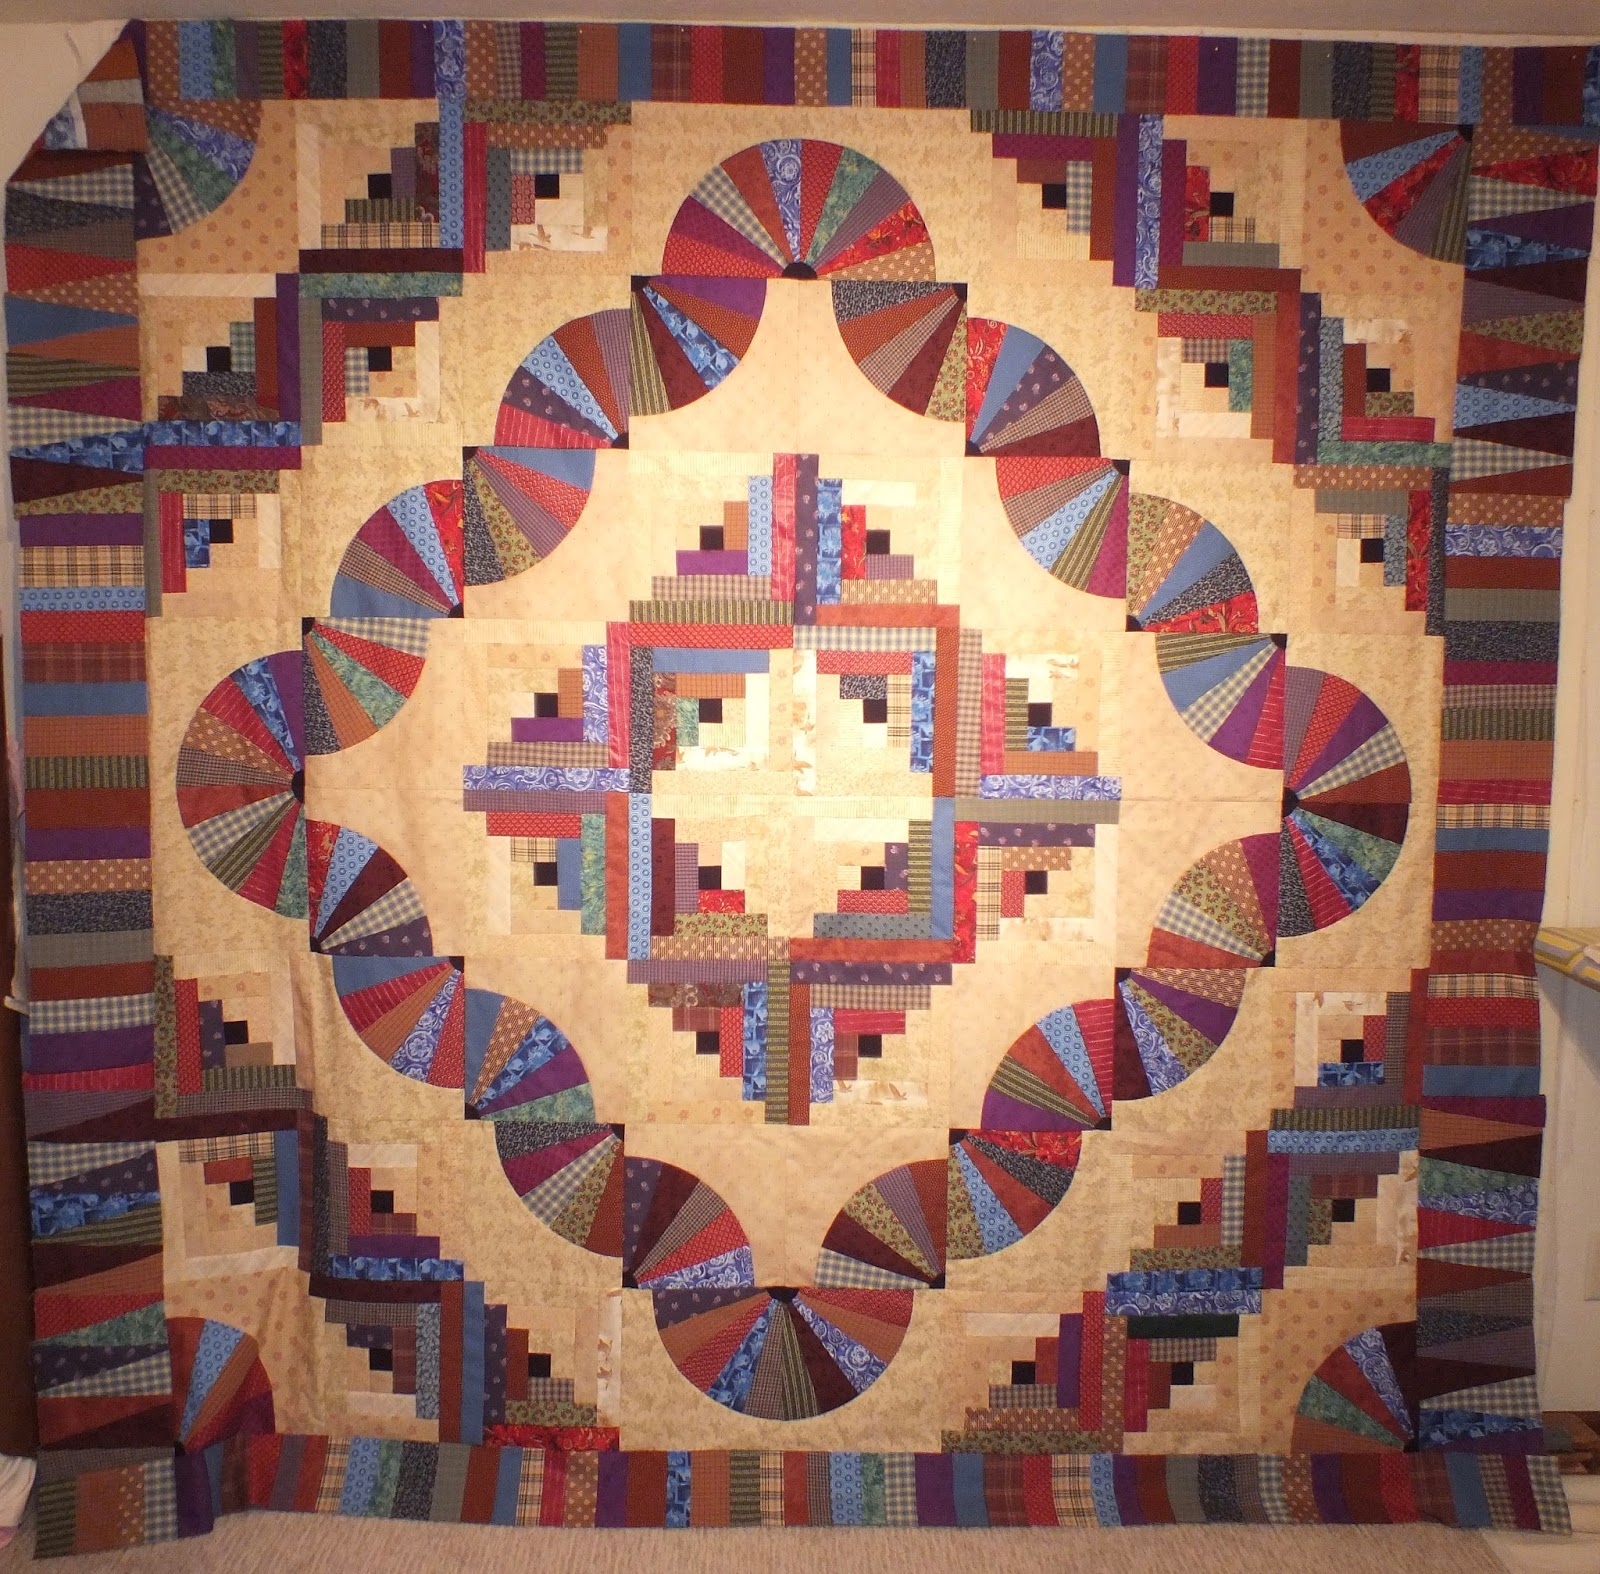
Borders added and on the quilt frame for spray basting. (click to see the other 2 log cabin fan quilt tops or click on Design Wall in the label section to see the design process.)
Glorified nine patch using Quick Curve Ruler---slick and click!
I spent Sunday afternoon spray basting quilts in my garage. It was the biggest space available and since darling daughter got a job and found an apartment, her stuff is in the garage until the apartment is ready. She had a table and chairs so I only had to move the car and take 2 more chairs to the garage and the quilt frame and all the necessities but compared to moving furniture in the house then squeezing around things. The garage was the easiest. And she helped me with the spray basting. The quilt frame sits on the backs of the chairs with the table underneath so the quilt doesn't fall on the garage floor. (click quilt frame how to) My fitbit said I walked almost 8000 steps, that's almost 4 miles! just basting the quilts and all the trips up and down the stairs to the dryer to fluff the batting and steam the backings and back and forth to my sewing room for the little tools. Then to put it all away again. My feet were tired by the time I was finished. My design wall is bare I will put some fabrics or unfinished blocks on it to ponder the next project. Sometimes solutions come at a glance while I machine quilt these three queens and a glorified 9 patch. and one more link to Judy's Design Wall Monday and be inspired. --Ann--
Thursday, July 25, 2013
out of the cupboard
My second son stopped over the other day and saw this quilt from his childhood and asked if he could take it. I said yes I could use a little more space in my closets but I wanted to take a couple photos first. I have photos and notes in an album but not digital. It is a block that doesn't really have a name, a big triangle, a square and two small triangles that can be put together in so many ways. I saw a quilt with this block in a magazine years ago and the maker called it angle irons. That name stuck with me because it is a simple block, it is a strong block and it is a useful block like angle iron. It can be put together in many ways and works good with other blocks like angle iron. I did the barn raising configuration. I looked in my quilt album and I did name this quilt Angle Irons and I made it in 1997. D2S (darling second son) picked the colors red, blue and green, I chose the fabrics. I remember finding the truck fabric for the backing but it was a bit pricey at the time so I stretched it by adding roads between. Son had so much fun playing with his little trucks and cars on the back of this quilt he became a civil engineer. Do children's playthings shape them for life!??! I see I didn't make a label for this quilt. I should before he takes it even if I just write in a road the important information. This was my earliest machine quilting...just stippling with my Elna, it got the job done. --Ann--
Monday, February 4, 2013
Design Wall
Friday, October 26, 2012
Quilter's Blog Fest
I found a fabric with fall motifs for the setting squares I had to add a border to each so they would fit the diamonds then set more diamonds around the squares to make the pie crust. Already planning my Thanksgiving menu the kids will all be home. --Ann-- Blogger's Quilt Fest
Wednesday, August 15, 2012
accent borders and auditions
Its hard to sew a very narrow border to a quilt. Which way do you press the seams? The slightest change in seam width or fabric grain makes it look crooked.
Cut 1 inch wide strips of fabric for the accent strip to go around the quilt, sew with a diagonal seam for less bulk.
trim seams and press open and press in half so it is 1/2 inch wide.
Stitch to quilt with a seam less than 1/4 inch wide. I moved my needle to the right so I can still use the edge of the presser foot as a guide.
I cut a 2 inch strip for the brown border. Sew all four sides and press.
I auditioned possible border fabrics again because it does look different with a larger view. As much as I like the stars I eliminated them because the stars are white white and the light fabrics in the quilt are all cream or tan. The stars were too white.
Stitch border on top of accent strip with 1/4 inch seam, which will cover up the short 1/4 inch seam that was used to sew the accent strip to the first border. Press borders and finish the quilt. On some quilts I have free motion quilted over the accent border on others I have pulled it back and stitched under it. This little inset looks even and straight, more so than a narrow border that has been seamed on both sides.
Ready to layer, baste and machine quilt. Happy quilting, Ann