Showing posts with label binding. Show all posts

Monday, January 23, 2017

auditioning binding


 I have four possibilities for binding on this quilt, turn the camera to make the fabric narrow like binding and turn it again.  My first impulse was the upper left brown with the tiny pink flowers but looking at it in the photos I like the large floral on the lower left right below my first choice.
The weather has turned to ish here the sky is foggy grayish and the snow is slushy as it melts and recedes revealing squishy brownish greenish grass.  It feels like March here with the dirty tired looking snow.
Saturday darling daughter and I were sitting in the sun room when the family next door came out with their little boy to build a snow man.  I don't think the man grew up with snow because he was having a terrible time getting a snowball started.  The mom knew exactly what to do and was making her second big snow ball before he had anything stuck together. She was lifting it to carry it over to the first snowball, daughter and I were saying the second was bigger than the first so they should put the first snowball on top of the second anyway he took the snowball and plopped it on the first pretty much smashing the base but he patted and sculpted until it looked like snowman body as she rolled the head.  He wanted to do the honors and place the head but she turned as if to say remember how you put the first two together.  The little boy was just making tracks in the snow.  Then they picked up a box with a carrot and coal or black rocks and a hat. I suppose if all you ever buy is ready to eat petite carrots you wouldn't have a long carrot in your refrigerator fit for a snowman nose.  Daughter and I looked at each other a snowman kit!??! It even had little short sticks for arms that fit in the box and looked ridiculous so she broke some branches off the maple tree for arms. Then they took some pictures but missed the best shot because they were trying to get snow out of the patio door, their little boy bending over looking the snowman straight in his coal black eyes.  It was adorable.  Missing the days of making snowmen with my kids......they grew up and left home.  --Ann--

Thursday, June 5, 2014

Just Beachy Finish

 The final stitches on the binding last night!! I used the same stripe for the bias binding as the border. I love bias stripe binding. The original plan was to put the beach umbrellas on the tan for the sandy beach I was never thrilled with that plan. The turquoise is so much more alive! I added a couple fish just for fun. They were made with the tri rec tools and a 4 patch.  And guess who thinks she should get this quilt!?!! Darling Daughter!! The beach balls are all fabrics that she picked out as a little girl.--Ann--linking to Nina Marie
scroll down to see more of the machine quilting


Friday, May 10, 2013

Free Motion Quilting

Scrappy nine patch in the log cabin quilt. This quilt was inspired by Kim Diehl's quilt in the March 2013 F&P LOQ magazine. The strips are all cut 1 1/2 inches wide. I free motion machine quilted it with concentric teardrops kinda sorta meandering feathers. Its my favorite to do on scrap quilts. I used miss matched leftover binding. And the best part no new fabrics were purchased for the completion of this quilt! scrap happy and we are off this weekend to celebrate our youngest's college graduation and deliver this quilt to a niece.
~~Ann~~


Thursday, February 16, 2012

Binding tutoral II


Sewing the binding to the quilt
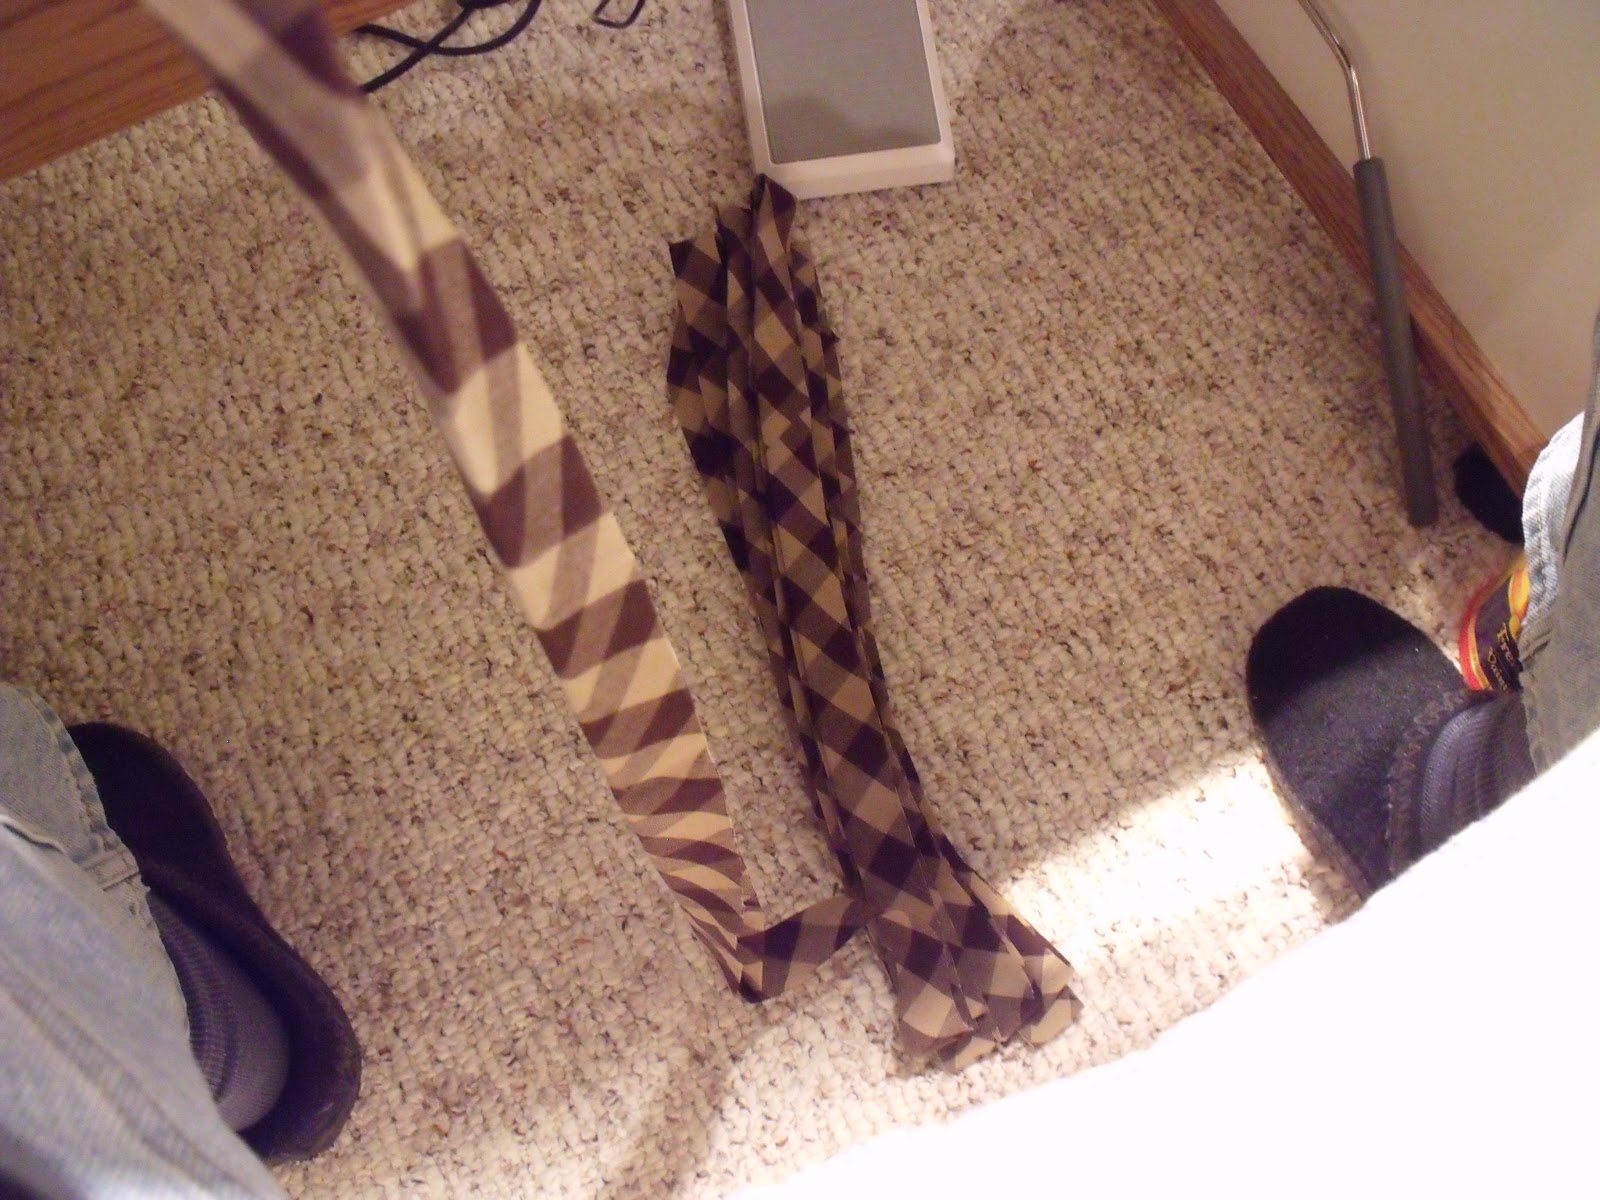
drop the accordion folded binding on the floor between your feet


Use walking foot  The walking foot feeds the quilt and binding through the machine at the same pace so there is no slipping or sliding and no stretch marks on your binding.
center
center


move needle to the right so that both pads of the walking foot are pushing the fabric


Lay binding on the edge of quilt begin sewing 6-8 inches from the end of the binding leave a tail


move right
move right


The needle should  be 1/4 inch from the edge of the quilt and binding the right pad the the walking foot should be on the binding.


stop stitching 1/4 inch from the corner

I put a pin at the edge of the quilt, there is a mark on the walking foot that is 1/4 inch from the needle so when my pin reaches that mark I stop sewing with the needle down.


 turn and sew off at a 45 degree angle


lift presser foot and turn quilt 90 degrees


fold binding to the left on 45 degree angle stitching line is your guide

fold binding 90 degree line up with quilt edges

continue sewing
hold the binding snug to the quilt but don't stretch in excess I usually tug it  about 1/8 inch per 6 inches of quilt


nearing the end of the binding and no mess no twisted or tangled binding!!!

stop sewing 6 - 8 inches from the beginning tail  remove from machine lay quilt flat and binding straight
you should have 12-16 inches of unattached quilt and binding

fold back the end of binding leaving a 1/4 inch gap bias has a lot of stretch  If you don't leave a gap you will have too much binding for the space and you binding will be puckery or bunchy and bumpy from too much binding in too small a space.


finger press a sharp crease


open up bias right sides of binding together mountain folds together at a right angle


 insert a pin at the intersection of the long crease and the finger pressed crease in the valley fold


straighten binding, match creases and pin on seam line


oops my pins are backwards for the sewing machine


 check to be sure seam is right and center creases match and the binding is snug for the space left to sew
center needle and sew seam recheck trim and finger press

move the needle to the right to finish sewing the binding to the quilt

the 1/4 gap allows just enough stretch 


I can never tell where I joined the bias after the quilt is finished.


stitch by hand turn the corners tuck in at a 90 degree angle and fold down a 45 degree angle for a sharp square corner


happy binding,
Ann

Wednesday, February 15, 2012

Binding tutoral I

Preparing the binding
Simple math is all you need to figure how much fabric is needed for bias binding.

Outside measurement of quilt
width(inches) + length(inches) = ____ X 2 =  # inches linear length of binding X width of binding that tells you how many square inches of fabric you need. Most sources will tell you to find the square root of that figure????   its easier to divide by the width of the fabric
I have never liked cutting a large square of fabric for binding because there was always a narrow strip of fabric left why not use the full width of the fabric?!? 
    
an example
56w +78l = 134 X 2 = 268 inches  circumference of quilt


For double bias binding I cut 2 1/4 inch wide strips if my final stitching will be done by hand, I cut 2 1/2 inch wide binding if I plan to sew it all by machine.

268 X 2.25= 603 divide by width of fabric 42"  = 14.35 inches round up to 15 inches                  

This is very accurate for figuring how much fabric is needed for binding a quilt if the yardage is 45 inches wide. I usually add an inch or two just to be safe and I have noticed some fabrics are narrower on the bolt.

I drew a chalk line around the perimeter of this woven plaid so I would have a right and wrong side to the fabric.  Once or twice I did not mark the fabric and had seams on both sides and had to rip and re sew.


 Cutting  2 1/4 inches wide


Occasionally I use a single binding then I cut my bias strips 1 1/4 inches wide then multiply the circumference of the quilt by 1.25
Sew seams   chalk lines on the bottom and top just like the wrong side of the fabric.


Press seams open and press in half.
I always trim the seams as I press.


Pressing in half is very important if you don't press the binding slides  as you sew by machine then there are tug lines when you sew the second time just like stretch lines on garments that are too tight.


  Accordion fold there will be no twisting or tangles while you sew.


If I have a strip of fabric left from cutting borders that I want to use for binding I will divide by the width of the leftover strip instead of 42. 
603 square inches of fabric needed for binding divided by 15= 40.2 inches + a few inches


Sewing the binding tomorrow.
Ann