Wednesday, February 29, 2012

Leap year

Must be leap year because I am sewing something backward!

I started this back in January and after getting the first leaf at the bottom done it just felt wrong so I looked at all the Santas that were still up and I was stitching  backwards. All the needlepoint stitching I have done over the years I have stitched lower left to upper right like this//////
The dumb bunny here, my stitches are backward this way \\\\\\ upper left to lower right.  It just feels wrong!!  The only thing I can figure out  is I took my first stitches holding the frame on end with the rabbit nose pointing down so the stitches would have been ///// but when I turned him back on all four feet I was stitching \\\\\
Maybe I should replace the light bulb where I like to stitch with a 3 way that works on bright.

Leap year follies,
Ann

Tuesday, February 28, 2012

Snow and Wind

Most of our snow in the Dakotas comes sideways. Even our icicles are effected by the wind.
I was running errands preparing for our next snowstorm and drove past these snowmen.


stay warm,
ann

Thursday, February 23, 2012

Snow Day

I still get excited about a snow day even though I don't have kids at home any more. It used to mean a big breakfast, wet mittens and boots, baking chocolate chip cookies and Disney movies.
Now its a day in the sewing room.

Happy Stitching,
Ann

Tuesday, February 21, 2012

Thimbles

My favorite thimbles

I have had the steel thimble since I was nine, it was in the sewing box my mother gave me when I started 4-H. I don't really remember learning to sew with a thimble, I'm sure I only used it occasionally when my fingers were sore from sewing so furiously to get things done for achievement days or dress review. I like the goat skin thimbles best for hand quilting and hand binding. They are flexible on my finger but the end gets shredded from the needle. I just got the blue thimble it is soft, flexible and the tip is slanted but I haven't used it. They were out of my size of goat skin thimbles so I thought I would try the blue then in my search for thimbles for this post I found a new goat skin thimble. The fuzzy thimble in the middle is caribou I bought it in Alaska and I like it for hand applique.  Notice the  little pleats, it is gathered with a running stitches  to shape the end to fit your finger and the band to fit over your finger, it is very comfortable.

The four thimbles to the right were my grandmothers. I may start using them since reading all the thimble blogs.


its snowing and its coming down in globs!!

great day for quilting
Ann

Monday, February 20, 2012

Design Wall Monday

I've been commissioned to do a t shirt quilt. The owner does not want just t shirt squares and sashing. I wonder why I agreed to do this then ideas come and things begin falling into place and I can't work fast enough. It becomes a puzzle to be solved.  It is a challenge that pushes me to be creative.

Happy quilting,
Ann

Thursday, February 16, 2012

Binding tutoral II


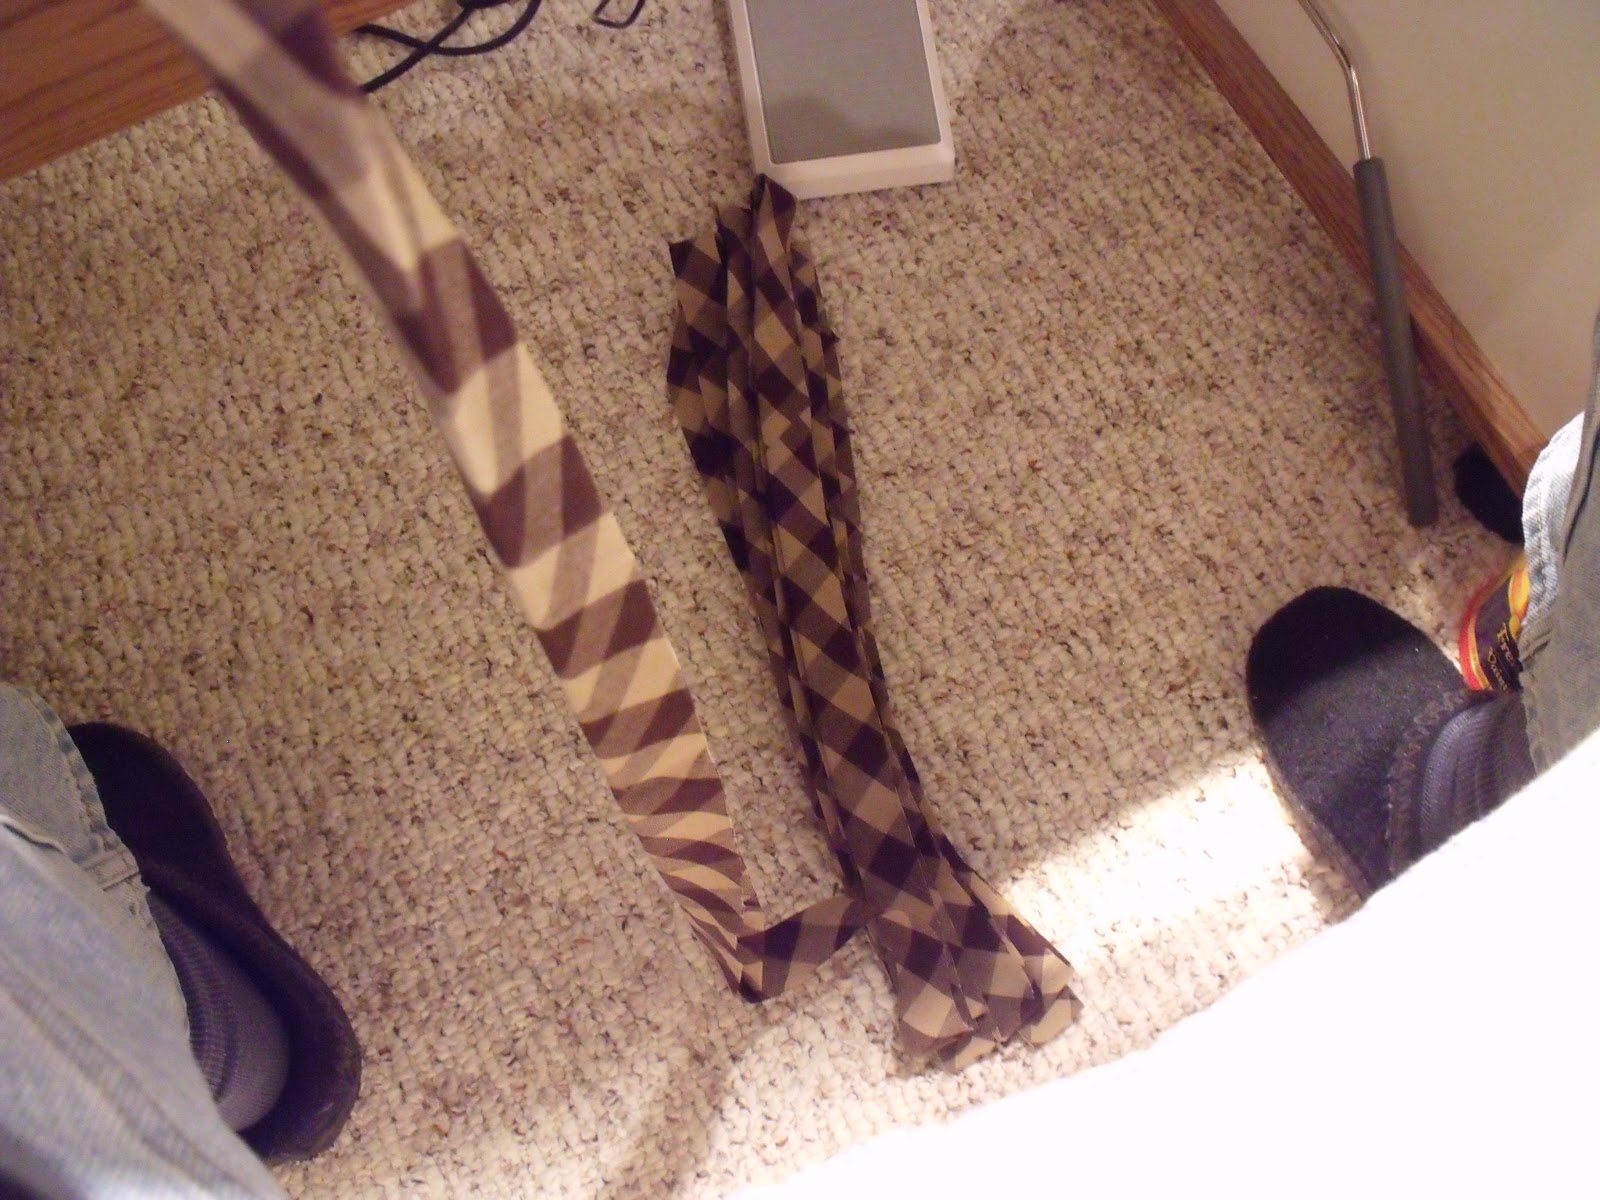
Sewing the binding to the quilt
drop the accordion folded binding on the floor between your feet


Use walking foot  The walking foot feeds the quilt and binding through the machine at the same pace so there is no slipping or sliding and no stretch marks on your binding.
center
center


move needle to the right so that both pads of the walking foot are pushing the fabric


Lay binding on the edge of quilt begin sewing 6-8 inches from the end of the binding leave a tail


move right
move right


The needle should  be 1/4 inch from the edge of the quilt and binding the right pad the the walking foot should be on the binding.


stop stitching 1/4 inch from the corner

I put a pin at the edge of the quilt, there is a mark on the walking foot that is 1/4 inch from the needle so when my pin reaches that mark I stop sewing with the needle down.


 turn and sew off at a 45 degree angle


lift presser foot and turn quilt 90 degrees


fold binding to the left on 45 degree angle stitching line is your guide

fold binding 90 degree line up with quilt edges

continue sewing
hold the binding snug to the quilt but don't stretch in excess I usually tug it  about 1/8 inch per 6 inches of quilt


nearing the end of the binding and no mess no twisted or tangled binding!!!

stop sewing 6 - 8 inches from the beginning tail  remove from machine lay quilt flat and binding straight
you should have 12-16 inches of unattached quilt and binding

fold back the end of binding leaving a 1/4 inch gap bias has a lot of stretch  If you don't leave a gap you will have too much binding for the space and you binding will be puckery or bunchy and bumpy from too much binding in too small a space.


finger press a sharp crease


open up bias right sides of binding together mountain folds together at a right angle


 insert a pin at the intersection of the long crease and the finger pressed crease in the valley fold


straighten binding, match creases and pin on seam line


oops my pins are backwards for the sewing machine


 check to be sure seam is right and center creases match and the binding is snug for the space left to sew
center needle and sew seam recheck trim and finger press

move the needle to the right to finish sewing the binding to the quilt

the 1/4 gap allows just enough stretch 


I can never tell where I joined the bias after the quilt is finished.


stitch by hand turn the corners tuck in at a 90 degree angle and fold down a 45 degree angle for a sharp square corner


happy binding,
Ann

Wednesday, February 15, 2012

Binding tutoral I

Preparing the binding
Simple math is all you need to figure how much fabric is needed for bias binding.

Outside measurement of quilt
width(inches) + length(inches) = ____ X 2 =  # inches linear length of binding X width of binding that tells you how many square inches of fabric you need. Most sources will tell you to find the square root of that figure????   its easier to divide by the width of the fabric
I have never liked cutting a large square of fabric for binding because there was always a narrow strip of fabric left why not use the full width of the fabric?!? 
    
an example
56w +78l = 134 X 2 = 268 inches  circumference of quilt


For double bias binding I cut 2 1/4 inch wide strips if my final stitching will be done by hand, I cut 2 1/2 inch wide binding if I plan to sew it all by machine.

268 X 2.25= 603 divide by width of fabric 42"  = 14.35 inches round up to 15 inches                  

This is very accurate for figuring how much fabric is needed for binding a quilt if the yardage is 45 inches wide. I usually add an inch or two just to be safe and I have noticed some fabrics are narrower on the bolt.

I drew a chalk line around the perimeter of this woven plaid so I would have a right and wrong side to the fabric.  Once or twice I did not mark the fabric and had seams on both sides and had to rip and re sew.


 Cutting  2 1/4 inches wide


Occasionally I use a single binding then I cut my bias strips 1 1/4 inches wide then multiply the circumference of the quilt by 1.25
Sew seams   chalk lines on the bottom and top just like the wrong side of the fabric.


Press seams open and press in half.
I always trim the seams as I press.


Pressing in half is very important if you don't press the binding slides  as you sew by machine then there are tug lines when you sew the second time just like stretch lines on garments that are too tight.


  Accordion fold there will be no twisting or tangles while you sew.


If I have a strip of fabric left from cutting borders that I want to use for binding I will divide by the width of the leftover strip instead of 42. 
603 square inches of fabric needed for binding divided by 15= 40.2 inches + a few inches


Sewing the binding tomorrow.
Ann

Tuesday, February 14, 2012

Happy Valentines Day

Simply 4 patches set on point with alternating plain blocks and a vine with leaves and lots of red buttons.

Happy Valentines Day
Ann

Wednesday, February 8, 2012

Log Cabin Quilt

 Scrappy log cabin quilt and binding.
 If I'm not quilting I am curled up under a quilt reading

Books I've read this winter
  1.  To Kill a Mockingbird by Harper Lee  reread
  2. The Land of the Burnt Thigh by Edith Kohl
  3. Clair and Mr Tiffany by Susan Vreeland
  4. The Kite Runner by Khaled Hosseini
  5. Spider Web by Earlene Fowler
  6. Chocolat by Joanne Harris  I liked the movie better
  7. Dakota Christmas by Joseph Bottum  kindle single not that great
  8. A Turn in the Road  by  Debbie Macomber
  9. My Vicksburg by Ann Rinaldi
 Ann

    Thursday, February 2, 2012

    Happy Ground Hog Day!!


    10 things I learned last year
    1. Tape the pasta box shut especially when I put it in the cupboard sideways other wise all the pasta ends up on the floor.
    2. The bread machine doesn't make dough unless the paddle is attached to the nub at the bottom of the pan.
    3.  Learned basics of woodcarving with minimal cuts to my fingers.
    4.  Chocolate with hot chili pepper in it is really really good. 
    5.  Chocolate with sea salt is good too.
    6.  Oven roasted parsnips and carrots are delicious.
    7.  Abbreviations for blogging and quilting HST is half square triangle not short for history, FMQ is free motion quilting, GFG is Grandmothers Flower Garden not my mother's initials with an extra g, WIP is Work In Progress, CRAP is Creative Resources And Projects which is all over my sewing room.
    8. Grilled pizza burns very quickly.
    9. Beets on the grill are the best.
    10. Washing windows is less work than moving.
      A very short true story:

      Hubby Dear was looking out the west windows at sunset last fall and made disparaging remarks including "I'm not building a new house so you don't have to do windows."  So Wifey Dear made an effort to wash the windows only to find that someone put the mini blinds so close to the screen that they would not come off without taking down the hardware for the blinds. The only way to wash the windows was from the outside with the windows cranked wide open.  The windows exceeded Wifey Dear's reach even from a ladder because there were basement window wells below each window.  So Hubby Dear bought a squeegee that could be screwed to a long handle.  Wifie Dear got a good start on the windows and noticed how dusty the screens were which led to vacuuming the screens and the mini blinds and the woodwork and the ceiling fans and the vents while Hubby Dear mowed the lawn. Then Hubby Dear finished the windows. Bless his heart! And Wifey Dear made supper.  The End


      Ann